Noise is a very common risk across many different types of worksites. One of the most common sources of loud noise is machinery and equipment.
Machinery and equipment operate at high speeds and generate a great force that can generate significant noise. In certain worksites, this noise can be at increased volumes for long periods of time. Noise poses a risk to workers as it can cause long-term and irreversible damage to their hearing. Once the risk to workers hearing is identified it should be managed by either removing or minimising the risk.
Controlling the risk
It is recommended to control noise at the source. Some examples of how you can control and reduce noise are:
- When purchasing machinery or equipment, ask the supplier for noise data. The noise levels should be relevant to where workers will actually be.
- Move noisy machinery or plant into areas where there are no workers, or few workers (eg into an outbuilding or dedicated room)
- Where noisy machinery and equipment have to remain in the working area, enclose it within a sound-insulating enclosure if possible (eg a screen or barrier).
- Where enclosure is not possible, reduce noise by other engineering means such as:
- lining guards/panels with noise dampening material
- providing acoustic screens
- lining the inside of hoppers with impact-deadening material
- fitting anti-vibration mountings
- fitting silencers to exhaust systems
- Duration of exposure can be reduced by job rotation or limiting the amount of time workers are exposed to noise
- Make sure there is proper and regular maintenance of machinery and equipment that takes account of noise.
PPE
Hearing protection should only be used when extra protection is needed after using the above noise controls. If hearing protection is required:
- make sure the hearing protection provided give enough protection – aim at least to get below 85 decibels at the ear
- select hearing protection that is suitable for the working environment – consider how comfortable and hygienic they are
- think about how they will be worn with other protective equipment (eg hard hats and eye protection)
- make sure your workers are educated about noise and trained in how and when to use the hearing protection
- make sure your workers have their hearing tested regularly
Training/ Awareness
Workers should be aware of the risk that exposure to excessive noise has to their hearing. Talk about managing noise during your safety meetings and keep a record of it in the HazardCo App. Make sure workers are provided with the appropriate training in the correct use, maintenance and storage of hearing protection. A Training Register template is available on the HazardCo Hub which can be downloaded and filled out.
You can view these resources below:
Is your work too noisy?
WorkSafe NZ’s Hierarchy of controls for noise video
If you have any questions about noise in the workplace, give HazardCo a call on 0800 555 339.
Using machinery and equipment for work on-site puts workers in close contact with powerful and fast moving tools. This makes getting the job done easier and more efficient but it does also present some risks to workers health and safety. If a worker comes into contact with machinery or equipment in an unsafe way, it can cause significant harm or injury. It is common practice to use guarding on machinery and equipment to create a barrier between the workers and the moving parts that can cause harm or injury.
Common risks and Hazards
Machinery and equipment guarding is designed to eliminate or minimise the risk of workers being harmed while completing their work. It is important to assess the hazards and risks involved with all the machinery and equipment used in the workplace. If machinery and equipment is not guarded properly, workers can sustain significant injuries due to coming in contact with moving parts.
Some common injuries are:
- Cuts
- Burns
- Electric Shocks
- Degloving
- Amputations
Because there is potential for serious harm when using machinery and equipment, it is necessary to plan a safe approach when conducting a job. This will help identify the hazards of working with machinery and equipment.
The hazard management process includes:
- Identifying hazards
- Assessing the hazard – decide if the identified hazards are significant
- Assessing the risk – decide how likely and seriously a worker could be harmed
- Controlling the hazard – either by eliminating, isolating or minimising the hazard
- Creating a hazard register to document the hazard
- Regularly reviewing and monitoring the hazards and risks.
- Create safe working methods like Standard Operating Procedures (SOP)
Choosing the right guarding
There are many different types of guards that can be used to protect workers from being harmed when using machinery and equipment. Here are some common types of guarding and examples of when they are used:
- Fixed – Screwed or fixed in place guarding to protect users from hazards. – E.g. grinders
- Interlocked – A guard that once removed or opened turns off the power to the machine by breaking a circuit. e.g. Roll formers and planing machines
- Adjustable – Safety guarding that is movable. The guard is in place to protect the user but moves to allow the function of the tool. E.g. drop saws and skill saws
- Light barriers – Usually only for manufacturing on modern machinery. Lasers or sensors can be used that once the beam is broken, can stop the hazardous machinery from operating until the beam is unbroken.
When choosing a guard, It is important to make sure the guard can actually prevent an operator from reaching into the dangerous parts of machinery and equipment. To make sure the operators are protected from the dangerous parts, the safest guarding must take into account an operator’s ability to reach into or come in contact with moving parts.
There are many different types of guards to choose from. It is important to choose guards that eliminate the potential for harm. If this is not possible, then guards should be chosen that isolate or minimise the risk to workers. It is very important that guarding is not removed or tampered with as this will increase the risk of harm to workers.
Control hierarchy:
- Elimination involves removing the risk to health and safety from the work site. It is the most effective risk control and should always be prioritised.
- Minimisation is used when a risk cannot be eliminated. This is done using: substitution, isolation, engineering, administration and PPE.
Training/ Competency
Workers should be trained to competently complete the work they are required to do. Workers should be trained and educated on the purpose and function of the different types of guarding in the workplace. Make sure that workers have the appropriate training, supervision, and qualification (if required) to safely use the necessary machinery and equipment. Keep an up-to-date register of what machinery and equipment workers are trained on and competent in using. A Training Register template is available on the HazardCo Hub which can be downloaded and filled out.
If you have any questions about guarding machinery and equipment, give HazardCo a call on 0800 555 339.
Machinery and equipment are used everyday on the worksite. Machinery and equipment are designed to make work easier, more efficient, and can generate great amounts of power and speed. This is really handy when there is a job to be done, but this also means there is a greater potential for harm and injury. When there is a potential for harm, especially in the workplace, it needs to be managed to prevent incidents or injuries. A great place to start is by identifying the hazards and risks involved with the machinery and equipment being used so that you can put controls in place to effectively manage them.
Hazards & Risks
Many pieces of machinery and equipment use force and motion to cut, bend, join or shape materials. This force and motion can harm workers in many different ways such as crushing, cutting, puncturing and burning.
It is good practice to identify the risks to workers’ safety. When machinery and equipment is identified as a hazard in the workplace, the next required step is to manage the hazard. Begin by assessing the risks that these hazards pose to workers. A risk assessment in relation to the machinery and equipment can be completed in the HazardCo app to record hazards and the controls put in place to manage these risks. Keep a list of the common hazards in the workplace and how they are controlled in a hazard register. A Hazard Register template available in the HazardCo Hub.
It is also good practice to complete Standard Operating Procedures (SOP) for your machinery and equipment. The SOP should document instructions on the safe operation and maintenance of and training for any machinery or equipment. Ensure that the SOP is created using the manufacturer’s instructions so that it is specific to the machinery and equipment used. A few example SOP’s and a template are available in the HazardCo Hub that can be used to create SOPs for all the machinery and equipment in the workplace.
Pre-Start Checks
Machinery and equipment are often used in harsh working environments, and on a daily basis. These two factors mean that eventually machinery and equipment can become faulty, damaged or break down over-time. If and when this happens, it can pose a risk to the workers who are using or working closely to the machinery or equipment. It is good practice to manage these risks by doing daily pre-start checks before beginning work. This ensures that the machinery and equipment are inspected and are in good working order before beginning the works. These pre-start checks should be recorded and the records should be kept. There are Pre-start Checklist templates available on the HazardCo Hub.
Training
Workers should be trained to competently complete the work they are required to do. This is especially important when using machinery and equipment as there is an increased potential for harm when it is not used correctly. Make sure that workers have the appropriate training, supervision and qualification (if required) to safely use the necessary machinery and equipment. Keep an up-to-date register of what machinery and equipment workers are trained on and competent in using. A Training Register template is available on the HazardCo Hub which can be downloaded and filled out.
If you need a hand with managing the hazards and risks involved with using machinery and equipment, give HazardCo a call on 0800 555 339.
What is Hi-Vis?
Hi-Vis is a form of Personal Protection Equipment (PPE) designed to minimise the risk of personal injury by making the wearers visible.
The New Zealand legislation has standards around the criteria that hi-vis needs to meet, the types available, and when they should be worn.
As a business owner, you must manage the risks associated with your workplace activities and in doing so follow a process to control those risks. If you cannot eliminate a risk, you must implement measures to reduce the level of risk, provide training to workers, and provide PPE – which can include hi-vis.
Protective clothing is one of many control measures used to mitigate risk, however, it is the ‘last line of defense’, and all other reasonably practicable control measures should be in place first before relying on protective clothing. It is up to the PCBU if hi-vis clothing is a control that will be implemented on-site. However, we do recommend that it should always be worn around moving vehicles, plant and machinery.
Types of Hi-Vis
There are many types of hi-vis clothing available in New Zealand, and it is important to understand the different types., what is appropriate for your workplace, and ensure that you supply hi-vis that meets the standards. The only two hi-vis colours that are acceptable in NZ are yellow and red-orange.Red is only allowed if it is in the orange spectrum. Otherwise, it cannot be considered a hi-vis colour, because it is not easily visible for some people with a specific type of colour-blindness.
- Class D – (Daytime use) made from fluorescent or other high visibility materials, are designed for daytime use. They are intended only for use in workplaces where lighting levels are good, and no work is done outside of daylight hours.
- Class N – (Nighttime use) designed and only suitable for night use, with no background material specified. The reflective tape must meet certain measurements and configurations.
- Class D/N – (Day and nighttime use) These garments combine fluorescent or other high-visibility background materials with strips of reflective tape, making them suitable for day and night use, or for work areas where there are low light levels.
Maintaining Hi-Vis
It is important that the correct hi-vis is selected and used correctly. Your workers should know:
- When using hi-vis is required
- How to wear it correctly, and that the zippers/velcro need to be done up securely
- Be of a suitable fit and not interfere with normal movement
- Be compatible with any other PPE requirements
- Know when to request a replacement due to damage/wear and tear
Hi-vis should be maintained to ensure that it remains effective, over time the materials can fade which will affect the performance of the tape and fabric. It should be regularly checked for wear and tear, fading, and ensure that there are no additional fabrics, logos, or pockets impacting the functionality of the hi-vis in accordance with the standards AS/NZS 4602 and AS/NZS 1906.4.
If you have any questions get in touch with the HazardCo team
HazardCo was created by tradies, for tradies. We understand that on-site risks change, all day, every day, and have experienced what happens when they aren’t well managed first hand. So we formed HazardCo to help tradies get their health and safety sorted – and help you to feel confident that you’re doing the right thing.
HazardCo’s digital health and safety solution uses everyday technology to help you complete all your health and safety requirements – all from your back pocket. Plus, HazardCo helps you to cut back on paperwork and saves you time by using straightforward templates and reports, which are full of tips and suggestions to give you the confidence you have it all covered.
You can use the HazardCo App on your smartphone to create a Toolbox Meeting, Site Review, Risk Assessment, Incident Report, Vehicle Checklist, and more. The app is packed with simple-to-use tools that guide you through each of these activities, making them super quick and easy to complete. The HazardCo App enables our members to feel confident that they are on top of their health and safety from anywhere, at any time – whether they’re on-site, taking a coffee break, or even at home after a long day at work.
HazardCo takes the hassle out of getting your team on board because the app is free to download for everyone on-site; this includes subbies, your team, and also visitors to your site. This means that at the site Hazard Board all they need to do is use the app or your camera to scan the QR code when they sign in and out which gives you the visibility of knowing who has been on-site and when, without having to be there in person. Plus, there’s no need for loads of paperwork and meetings the first time someone arrives on-site – all they need to do is scan in and complete their induction on their smartphone. It’s simple, smart, and time-saving while also giving you the confidence of knowing you have your bases covered.
Along with the app, being a HazardCo member also gives you access to the HazardCo Hub – our digital tool for setting up new projects. All of the information you need is stored online meaning that you can login from anywhere, at any time. Plus, you can use the hub to view, download, and review activity reports, including site reviews, risk assessments, and inductions.
Good health and safety practices are about more than just following the rules; they’re about doing the right thing to keep you and your team safe. HazardCo’s smart digital tools save you time and paperwork, giving you the confidence that you’re doing everything you can to keep your team safe.
Any questions, get in touch with the HazardCo team today
When it’s not possible to work from the ground, the use of scaffolding is highly recommended to complete those at height tasks. Generally, any building, demolition, or at height repair works will require scaffolding.
Scaffolding has several benefits;
- Safety: Scaffolding is there as a secure structure for those working at height, providing a flat and balanced working platform that allows multiple workers to work at the same time.
- Access: With scaffolding wrapping areas of a building, it allows people to access parts of a building that may have been unattainable beforehand, such as wall or section of the roof.
- Positioning: With scaffolding, workers are smack bang in front of the area they are working on. No need for getting into awkward and unsafe positions.
There are other height equipment available such as;
- Mobile Elevating Work Platforms
- Podium platform ladders
- Safety nets
- Soft landing systems
- Fall arrest systems
Doing a thorough risk assessment is key to determining what the right equipment for the job will be. Use this table as a guide for your choice of height equipment.
As always if you would like to discuss your health and safety requirements further please call our Advisory team on 0800 555 339, extension 4.]
Working at height for work such as building a house, renovations, painting, decorating, or roof work? Scaffolding could be the safest piece of height equipment to use for the job as it provides workers with a flat-level working platform and of course fall protection.
Different types of Scaffolding
There are different types of scaffolds and the type you will use will depend on the environment you are working in and what is best suited to your task. The common types of scaffolding are proprietary and prefabricated, tube and coupler, and suspended scaffold. If you want to know more about these systems, click here.
Anyone involved in the installation of scaffolding is required to have the knowledge and skills to do so. Scaffolding up to 5 metres should be installed by a competent person. Competent means someone who has the knowledge and skills to carry out a particular task like installing scaffolding. The easiest way to gain this knowledge and skills is through training, qualification, experience or a combination of all three.
It is important that you know that scaffolding greater than 5 metres must be installed by a person who holds the appropriate class of certificate of competence (COC) for the type of scaffolding. Scaffolding over 5m is also notifiable to WorkSafe. This can be done online here.
We have a Scaffolding Task Analysis (TA) that you can use. This TA outlines the hazards, risks and controls that need to be put in place when it comes to installing and using a scaffold. Also available is a pre-start checklist for you to conduct your daily checks before use. These can both be found in the templates section of the HazardCo HUB. We will touch on in week 3 about the when, what, how and why when it comes to checking scaffolds.
Do you know what you need to do before you demolish or refurbish a property, building or structure? Find out what the asbestos regulations mean for you before doing any work.
Identifying Asbestos
Planning is key to identifying all potential hazards and the risks involved when doing any sort of demolition or refurbishment work. Asbestos can be found in buildings constructed or renovated before the year 2000 and as such it is more than likely to be present at your next job. You can find out more about where asbestos can be found in this WorkSafe resource.
Asbestos or asbestos containing material (ACM) must be identified and removed by a competent person before the demolition or refurbishment is started (unless demolition is required to gain access to the asbestos). Things to consider when planning your work:
- Are there inaccessible areas that are likely to be disturbed during the demolition or refurbishment?
- What is the type and condition of the asbestos or ACM?
- What is the quantity of asbestos or ACM?
- What is the method of demolition or refurbishment, and how will it affect the asbestos or ACM?
- If asbestos is likely to be disturbed during demolition or refurbishment, can it be removed safely before work starts; if so, how can this be done
If the competent person is unsure whether asbestos is present it must be assumed that it is and all steps taken to mitigate the asbestos risks. If asbestos is identified you must notify all parties involved such as the homeowner, landlord, occupant and/or the contractor in control of the site.
Asbestos Management Plan
Any works where asbestos has been identified will require an asbestos management plan. This outlines where any asbestos or ACM has been identified. Your plan must contain the following:
- the identification of asbestos and ACM (eg where any signs and labels are located)
- decisions, and reasons for the decisions, about how the asbestos risks are managed (eg safe work procedures and control measures)
- procedures for recording incidents or emergencies involving asbestos in the workplace
- information about the workers carrying out work involving asbestos, including
- information and training that has been or will be provided
- their roles and responsibilities
- any health monitoring that has been or will be conducted.
Other information may be included in the asbestos management plan, such as:
- a timetable for managing asbestos exposure risks (eg priorities and dates for removal, reviews, circumstances and activities that could affect the timing of action)
- procedures, including a timetable for reviewing and (if necessary) revising the asbestos management plan and asbestos documentation
- waste disposal
- air monitoring procedures, if required.
Emergency Planning
An emergency plan is required for demolition work where plant and structures contain asbestos. When developing the emergency procedure, you should consider:
- the work being done in the workplace or home
- hazards in the workplace or home
- the workplace or home’s size and location (eg remote location, multi-level site with shared services)
- the number of workers and other people who might be at the work site (eg workers on shifts, maintenance and cleaning personnel, customers, people working alone).
The procedure should include:
- how to respond effectively to an emergency
- evacuation procedures
- notifying emergency services
- getting help, including medical treatment
- effective communication between the person the PCBU authorises to co-ordinate the emergency response and the people at the work site
- provisions for regularly testing the procedure
- what information, training and instruction will be given to relevant workers about how to put the emergency procedure into effect.
The emergency procedure must be carried out if there is an emergency.
If the plant or structure is not structurally sound or is going to collapse, WorkSafe NZ should be notified as soon as possible.
Disposal of Asbestos
Before demolition starts, think of how you are going to dispose of the waste. Having a good waste containment and disposal process is just as important as having safe processes for working with asbestos.
Asbestos is considered special waste and special waste needs to be handled, buried, pre-treated or tested before it can be disposed of at the landfill. You need to make an application if you want to dispose of special waste.
Applications are often called special waste disposal declarations. Contact your local landfill to enquire about what they require before taking any material to them.
Not all landfills or transfer stations are authorised disposal sites, check with your local council to find out where your local authorised site is.
Double-bag all waste, all waste including single use masks and coveralls, cloths and plastic sheets should be double-bagged in heavy duty plastic bags. Twist the top of bags tightly, fold the necks over and seal with adhesive tape. Clearly mark the outer bag as asbestos waste.
Check with your receiving landfill for further details especially around handling details. There are often restrictions around how the material is offloaded.
If using skip bins or wheelie bins on site, be aware that many providers of these bins do not allow asbestos to be disposed of in them. Check your provider first for approval.
Document your disposal process in your Asbestos management plan and Asbestos Task Analysis (TA) considering the above.
As a HazardCo member you have access to a library of TA forms located in your Hub, which include demolition and the removal of non-friable asbestos for anything less than 10m2. Use of these resources will help you to identify the hazards and risks in your workplace and the recommended controls.
Our team of Health and Safety Advisors are here to help you with anything you are unsure of, give us a call on 0800 555 339, option 4.
Demolition is not just the knocking down of buildings or structures, it also includes smaller maintenance and renovation work such as the dismantling of parts of structures (e.g. one part of a steel-framed building) or the removal of walls.
When planning your works you need to first identify the hazards and manage the risks:
- Protection of the public and workers – Fencing and barriers are in place to prevent unauthorised access or controlled access and egress by a licensed person
- Overhead and underground utilities – Ensuring all services have been identified and are isolated or disconnected
- Asbestos – Asbestos has been identified, managed and removed prior to demo. We will discuss this more in our next blog
- Dust – Use of water to dampen down the area
- Fire and explosives – All hazardous materials or substances have been removed from the area of work before commencing demolition
- Weather – Plan for bad weather and control harmful or hazardous run off
- Working at heights – Where possible work from the ground, ensure you have the right fall protection and working platforms to eliminate or minimise the risk of falling from one level to another
- Identify the correct personal protective equipment (PPE) & respiratory protective equipment (RPE) needed for handling and disposing of hazardous building materials
When demolition is involved there is always the potential for the collapse of the structures. Ensure structural / supporting elements are identified before demolition (you may need to seek structural engineers’ help identifying these, and in what order to take them down).
- Identify what work is carried out internally by people and what is / can be carried out externally by machinery to ensure safety.
- Plan to manage falling objects and unplanned structure collapse
- Know the proximity of building or structure being demolished to other buildings or structures
- Walls should never be left free-standing that could be blown down by unexpected winds.
- If any wall is to be toppled by pulling, there should be a surrounding clear space of 1.5 x wall height
- Ensure temporary support props are in place to provide additional support where needed
Make sure you have the following documents completed and available for your demolition work:
- High-Risk Response Plan
- Task Analysis
- Standard Operating Procedure (SOP)
You can find these in your Templates Library in your Hub. You can login to your Hub here.
These should be tailored to the task at hand and regularly updated as changes occur.
If you have any questions reach out to the HazardCo team
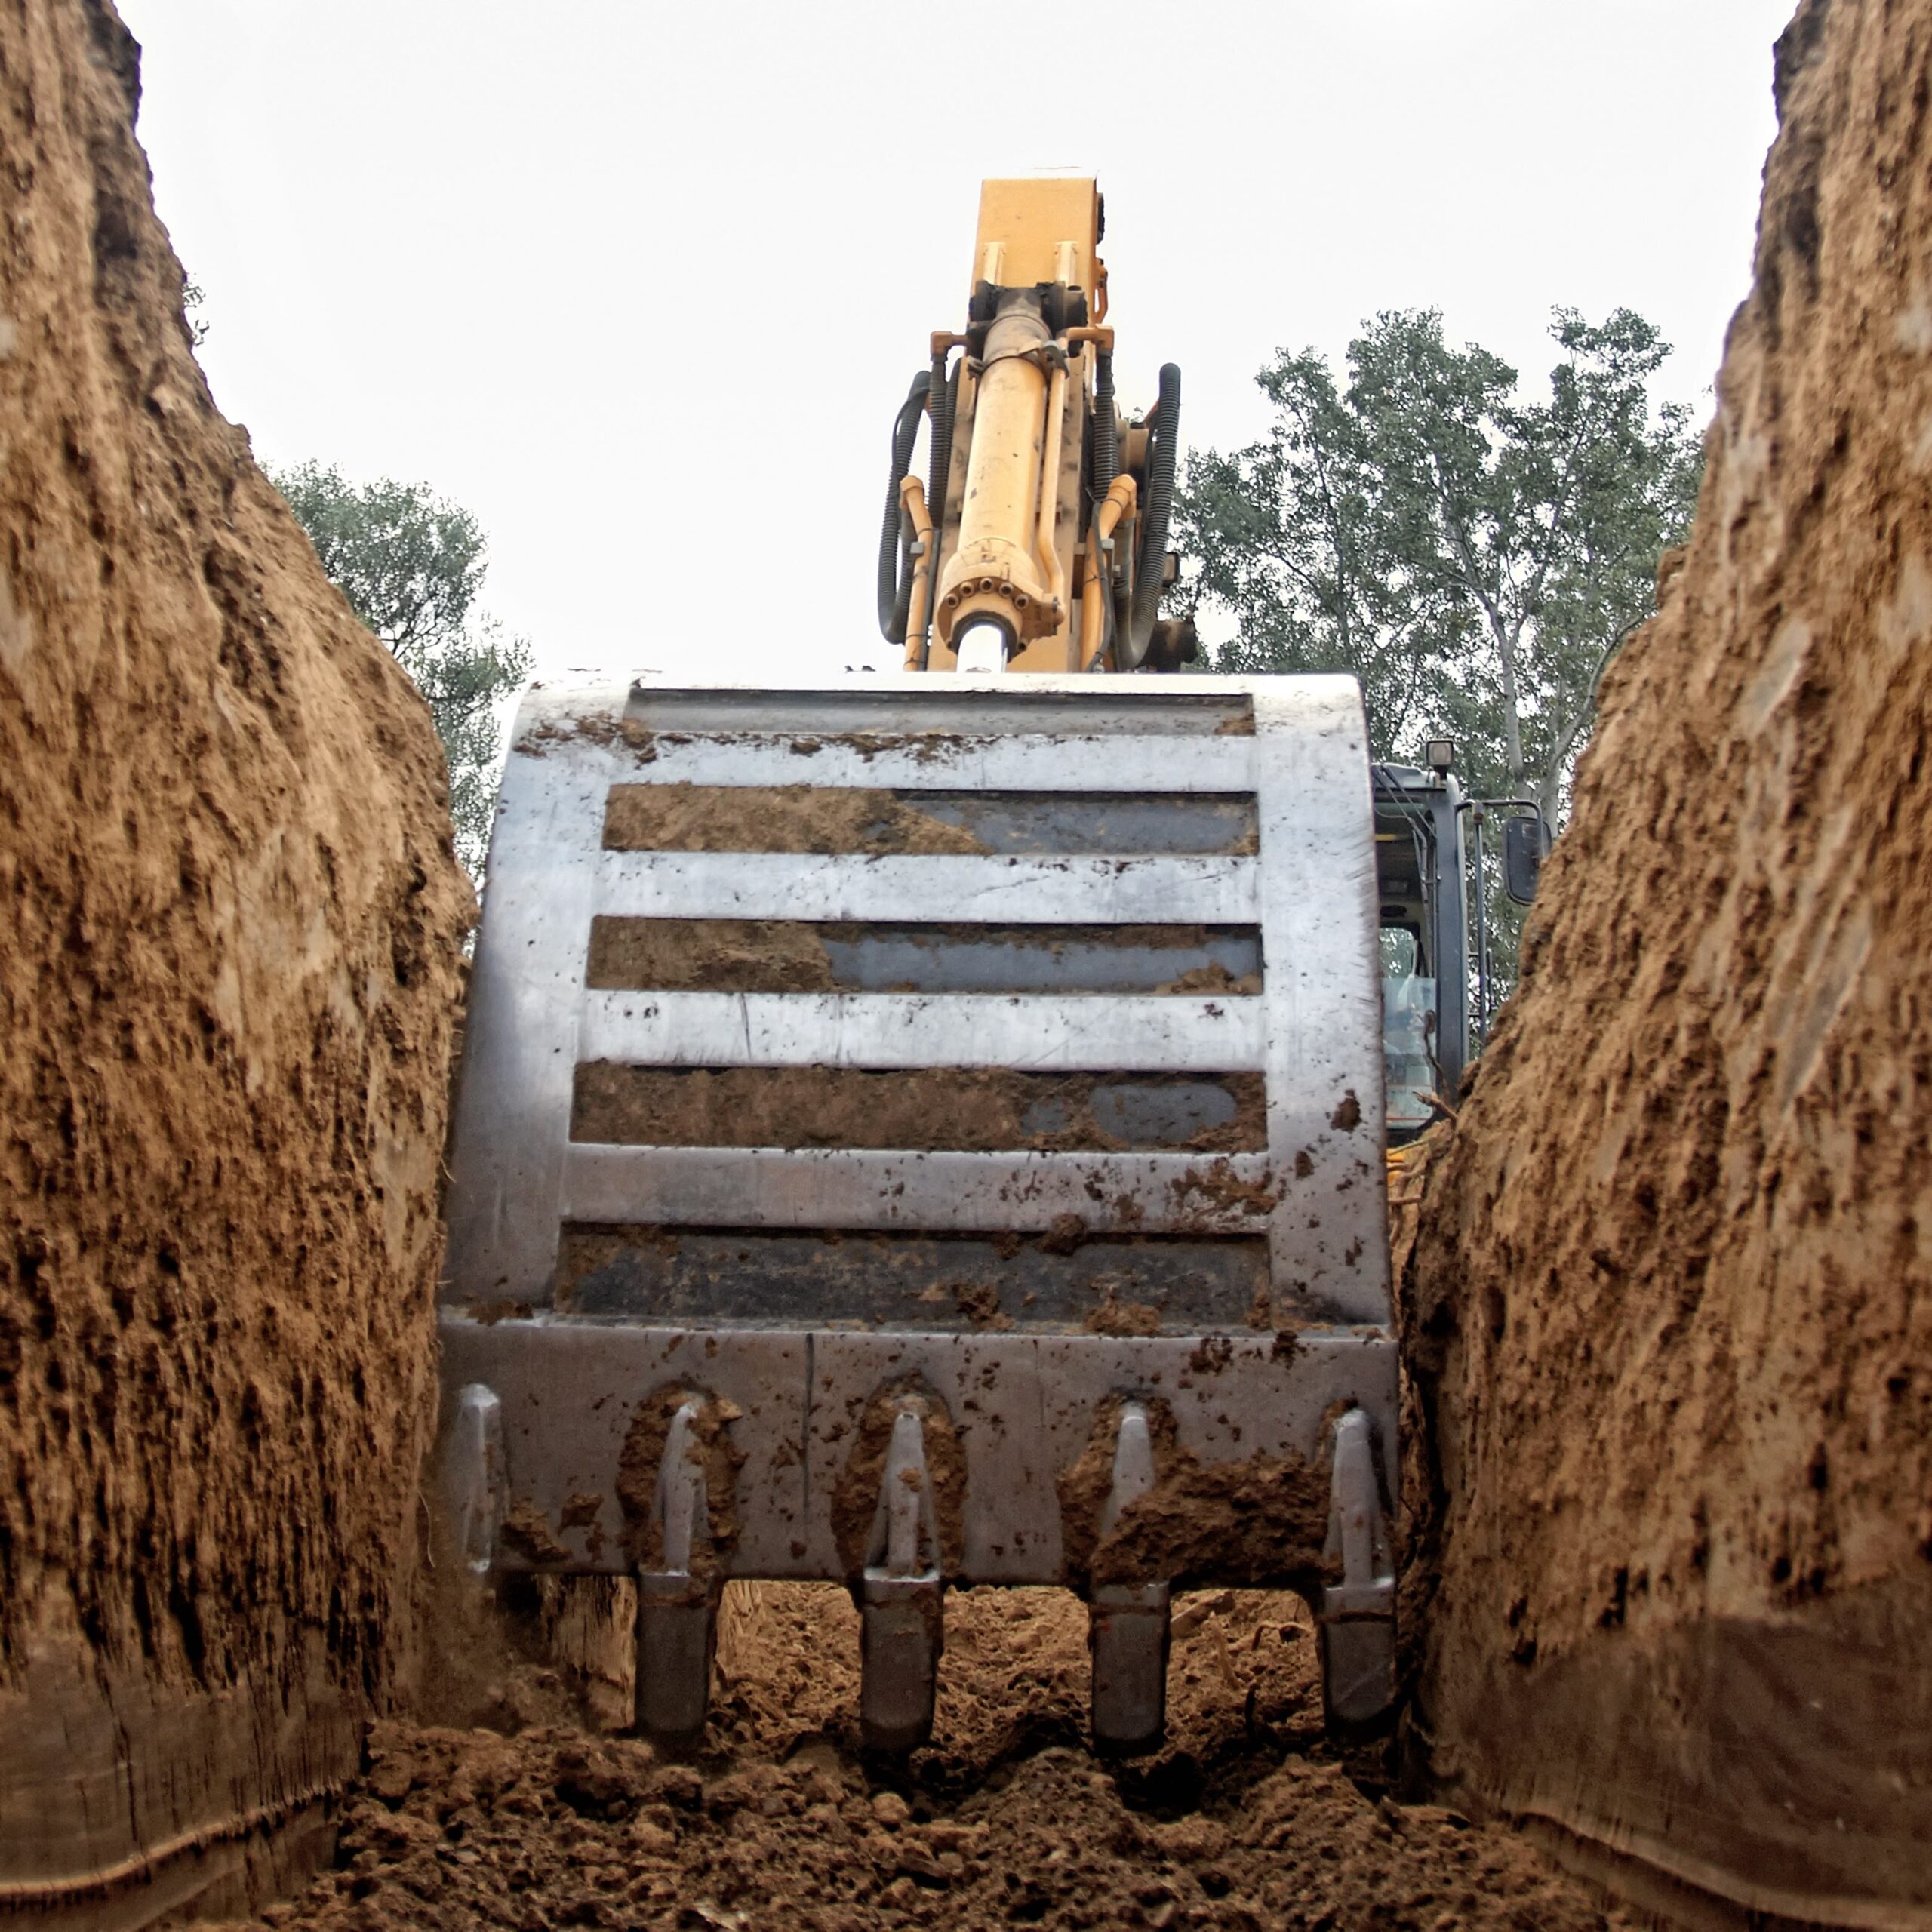
Are you aware of when you need to notify WorkSafe NZ of your particular hazardous excavation works?
Conducting any of the following excavation works will mean you’ll need to complete this WorkSafe NZ online notification form:
- Work in any drive, excavation, or heading, in which any person is required to work with a ground cover overhead
- Work in any excavation in which any face has a vertical height of more than 5 metres and an average slope steeper than a ratio of 1 horizontal to 2 vertical
- Work in any pit, shaft, trench, or other excavation in which any person is required to work in a space more than 1.5 metres deep and having a depth greater than the horizontal width at the top
It is expected that at least 24 hours notice is given prior to commencing such excavation works.
Notifying WorkSafe of your intended works allows them to gather statistics on the number of high-risk works going on around the country, and plan their use of resources to promote the prevention of harm.
Make sure you complete a Task Analysis for your high-risk works, you can access Task Analysis Templates from the Templates tab in your Hub. This will help you to identify the hazards, and the controls needed to minimise the risk to not only those involved in the works but all those working on the site.
If you have any questions or would like to discuss your particular hazardous works please feel free to call our Advisory team on 0800 555 339, extension 4.
Looking for something in particular?

Kick off the New Year safely on site
The holidays are done and dusted, and it’s time to ease back into work. Reopening your site is just as important as shutting it down properly and the New ...

The Christmas break is nearly here. You're probably counting down the days until you can relax and spend some proper time with the family and friends.
But before you lock up for the holiday...

The hidden danger on-site: Silica dust
Construction sites come with plenty of obvious hazards but some of the most dangerous ones are the ones you can’t see. One of those hidden risks is res...

Slips, trips, and falls, don’t let them take you down!
Slips and trips might seem harmless, but on-site, they’re one of the biggest causes of injuries. A bit of ground clutter, a wet floor,...

Got lone workers on your team? Here’s what you need to know
If someone on your team is working by themselves without other people around and without direct supervision, they’re likely conside...
Take the Hassle Out of Toolbox Meetings
Toolbox meetings don’t need to be a paperwork mission. With the HazardCo App, you can run quick, focused chats straight from your phone – No prep, no p...
Working with heavy machinery and managing traffic on-site can be risky. But with the right checks and planning, we can keep everyone safe.
Daily machinery checks
Before starting work each da...

Operating Machinery
Working with heavy machinery can be dangerous. Incorrect use or untrained operators can lead to serious injuries or worse.
Training and Supervision
Machinery shou...

Digging into the ground might seem straightforward, but excavation work is actually one of the most dangerous parts of construction. That’s why it’s important to plan ahead and put the right s...

Dust is a common hazard in the construction industry, especially during demolition or refurbishment. When buildings are demolished they can release materials that create hazardous dust (airbor...

When you have an incident on-site, whether it’s a near miss, an injury, or a work-related illness, it’s important to document an incident report.
Incident reports don’t need to be time-cons...

Every year we see serious injuries and incidents involving vehicles near the top of the data that WorkSafe releases. Needless to say, anything with wheels and an engine should be at the forefr...


